How to Measure Flour Correctly for Perfect Baking Results
Have you ever spent precious time, effort, and ingredients on a baking project, only for your cookies to come out dry and crumbly, your cake dense and heavy, or your bread tough instead of tender? The frustration is real, and often, the culprit isn't a faulty recipe or lack of skill, but a seemingly simple misstep: inaccurate flour measurement. Mastering
how to measure flour correctly every time is perhaps one of the most transformative skills any baker can acquire, elevating your results from disappointing to consistently perfect.
Baking, at its heart, is a science. While there's certainly an art to it, the foundational elements rely on precise ratios and reactions. Flour, as a primary structural ingredient, plays a critical role in the texture, rise, and overall success of your baked goods. Get it wrong, and the entire chemical balance of your recipe can be thrown off. In this comprehensive guide, we'll demystify the art and science of flour measurement, equipping you with tried-and-true techniques that professional bakers and seasoned home cooks swear by.
Why Accurate Flour Measurement is the Cornerstone of Baking Success
It might seem intuitive to simply scoop flour directly from the bag with your measuring cup, but this common practice is, in fact, one of the biggest pitfalls in baking. Studies by baking experts reveal that directly scooping can pack in an astonishing 20-50% more flour than a recipe intends! Imagine a recipe calling for 2 cups of flour, but you're inadvertently adding up to 3 cups. The impact on your final product is profound:
*
Too Much Flour: Leads to dry, crumbly cookies that spread poorly; dense, heavy cakes and muffins; tough, chewy bread; and pie crusts that crack easily. The excess flour absorbs too much liquid, leaving your baked goods parched and lacking tenderness.
*
Too Little Flour: Results in flat, spreading cookies that lose their shape; cakes and muffins that collapse or are too moist and gummy; and bread that lacks structure and volume. Without enough flour to provide a sturdy framework, your creations can't hold their form or achieve the desired rise.
Inaccurate flour measurement is arguably one of the most widespread baking mistakes, turning what should be a delightful experience into a "heart-breaker." The good news is that with a few simple adjustments to your technique, you can dramatically improve the consistency and quality of your baking.
The Gold Standard: Weighing Flour with a Digital Scale
For unparalleled accuracy and consistent results, professional bakers and serious home enthusiasts universally recommend weighing flour using a digital kitchen scale. This method eliminates the variables of compaction, humidity, and individual scooping techniques, providing an exact measurement every single time. If you're looking to truly level up your baking and ensure precision, a digital scale is a must-have tool in your kitchen arsenal.
Here’s how to weigh flour correctly:
1.
Place a Bowl or Container on the Scale: Use the bowl you'll be mixing your ingredients in, or any lightweight container.
2.
Tare/Zero the Scale: Turn on your digital scale and place your empty bowl on it. Press the "tare" or "zero" button to reset the display to 0. This accounts for the weight of the bowl itself.
3.
Spoon Flour into the Bowl: Gently spoon flour from its container into the bowl on the scale until you reach the desired weight specified in your recipe. Most professional recipes and baking authorities, like King Arthur Baking, recommend approximately 120 grams (or 4.25 ounces) per cup of all-purpose flour. Always refer to your recipe's specific weight if provided, as different flours or recipe developers may have slightly different standards.
4.
Accuracy Check: Once the scale displays the exact weight, you're done! There's no need to level or compact.
Benefits of Weighing:
*
Superior Accuracy: Grams and ounces are precise, unlike volumetric cups which can vary significantly.
*
Consistency: Ensures identical results every time you make a recipe.
*
Efficiency: Often quicker than volumetric methods, especially when measuring multiple dry ingredients.
*
Less Mess: No need to level off flour over the counter.
If you're interested in a deeper dive into the benefits and nuances of weighing versus other methods, explore our article on
Weigh or Spoon & Level? Master Accurate Flour Measurement.
The Tried-and-True Method: Spoon-and-Level Technique
While weighing is the gold standard, not every home baker owns a digital scale, and many cherished recipes still call for flour by volume (cups). In such cases, the "spoon-and-level" method is the most accurate volumetric technique for measuring flour. It's designed to prevent compaction and ensure you're adding the correct amount of flour specified by the recipe.
Here’s how to correctly measure flour using the spoon-and-level method:
1.
Fluff the Flour: Before you even think about your measuring cup, take a spoon or a whisk and gently stir the flour in its bag or container. This aerates the flour, breaking up any compaction from storage and ensuring it's light and loose.
2.
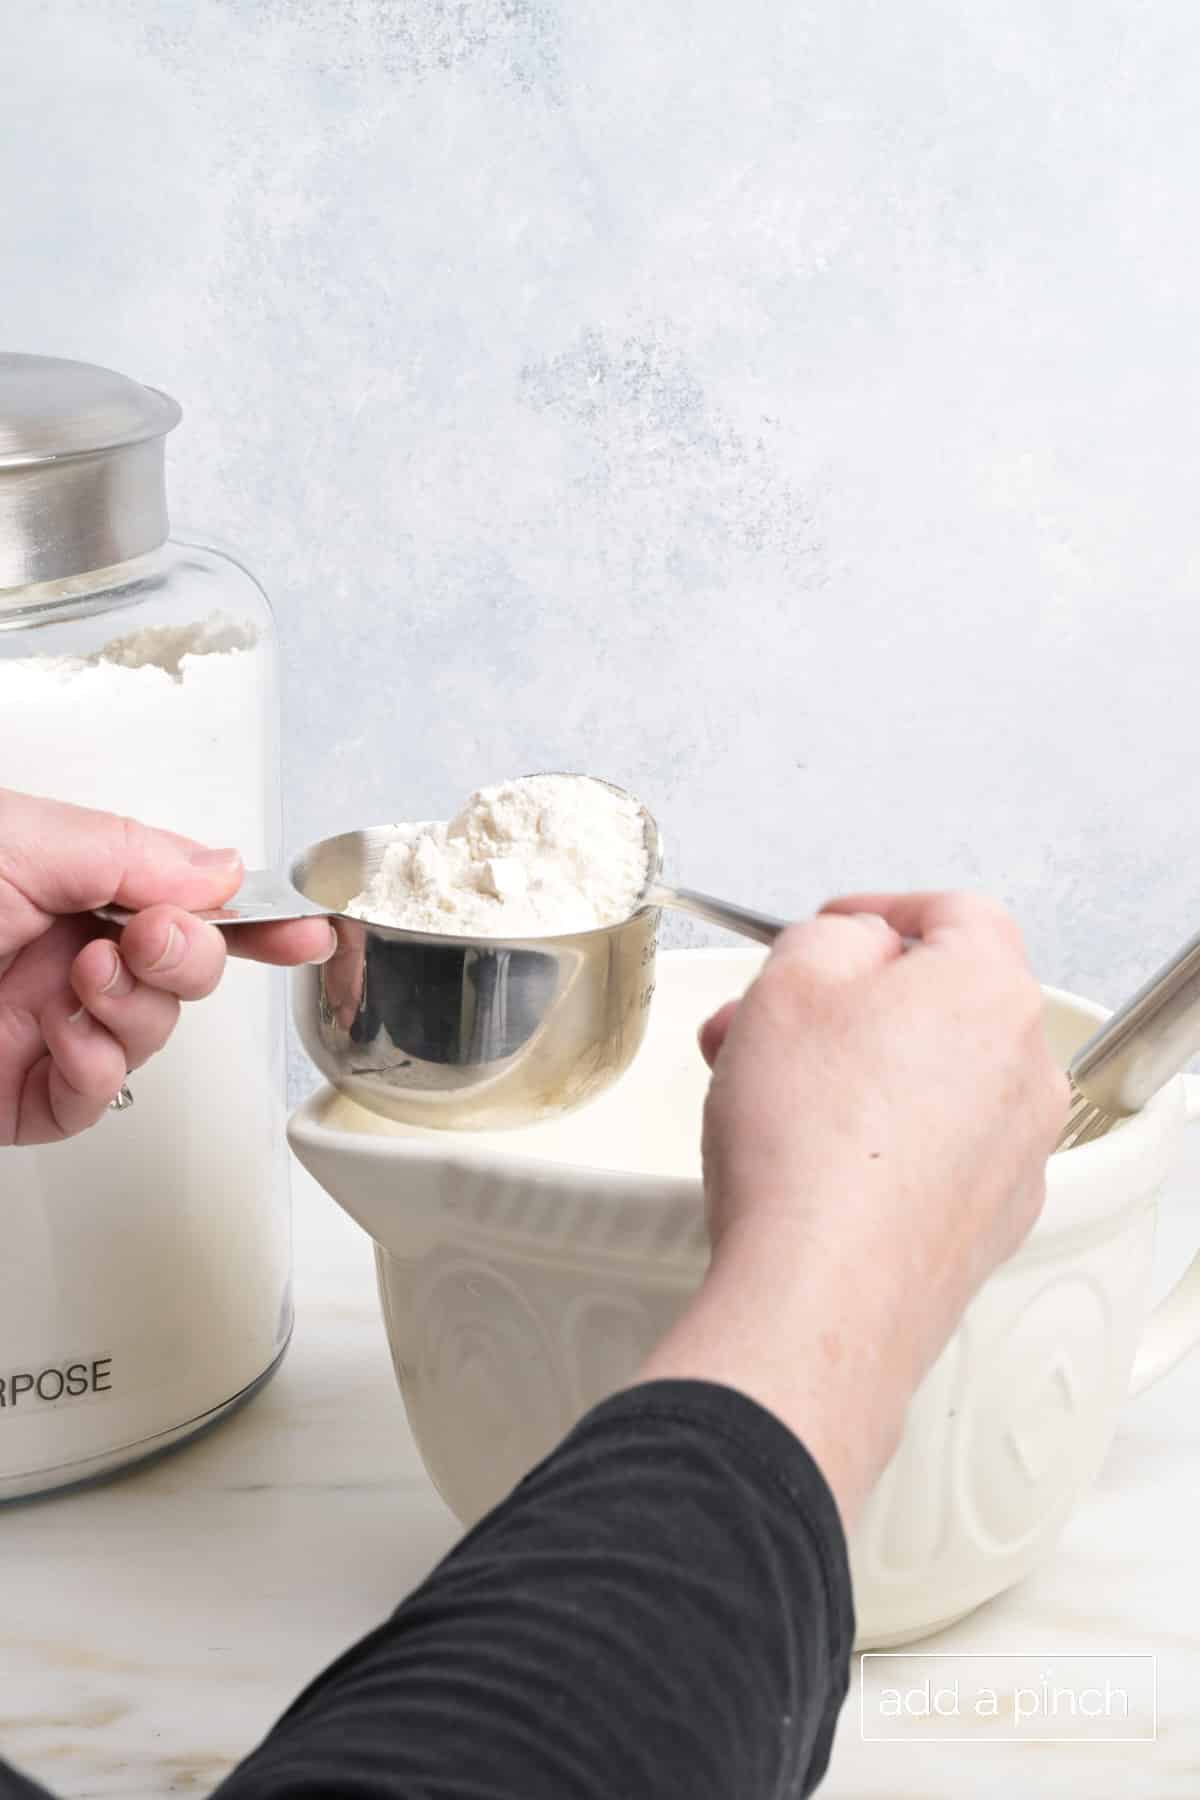
Spoon Flour into the Measuring Cup: Using a separate spoon (like a soup spoon or a serving spoon), gently scoop the flour from its container and deposit it into your dry measuring cup. Continue spooning until the flour mounds above the rim of the cup.
3.
Do NOT Scoop with the Measuring Cup: This is the crucial step to avoid. Dipping the measuring cup directly into the flour bag will inevitably compact the flour, leading to an over-measurement.
4.
Level Off Excess: Once the flour is mounded in the cup, use the straight edge of a knife, an offset spatula, or a flat ruler to gently sweep across the top of the measuring cup. This removes any excess flour, leaving you with a perfectly level, accurate measurement.
5.
Avoid Compaction: Do not tap the measuring cup on the counter, shake it, or press the flour down in any way. The goal is a loose, aerated measure.
This method minimizes the risk of adding up to 50% more flour, making it indispensable for achieving light and tender baked goods when a scale isn't available.
Common Pitfalls and Expert Tips for Flour Measurement
Even with the right methods, a few common mistakes can creep in. Being aware of these and incorporating some expert tips will further refine your flour measuring skills.
Common Mistakes to Avoid:
*
Scooping Directly with the Measuring Cup: As highlighted, this is the number one offender. It compacts the flour, adding significantly more than intended. Always spoon into the cup.
*
Tapping or Shaking the Measuring Cup: After spooning flour into the cup, resist the urge to tap it on the counter or shake it to settle the flour. This also leads to compaction and an over-measurement.
*
Using a Liquid Measuring Cup for Dry Ingredients: Liquid measuring cups (with a spout and usually marked with ounces on the side) are designed for liquids, allowing you to read the measurement at eye level. Dry measuring cups are designed to be filled to the rim and leveled off, which is not possible with liquid cups.
Expert Tips for Perfect Results:
1.
Understand Your Flour Type: Different flours have varying protein levels and densities, affecting their weight and how they behave in recipes.
*
All-Purpose Flour: The most common, typically 120-125g per cup.
*
Bread Flour: Higher protein, can be slightly denser.
*
Cake Flour: Lower protein, very fine, and lighter; often needs to be measured very gently.
*
Whole Wheat Flour: Denser and heavier than all-purpose.
*
Freshly Milled Flour: This can be lighter and fluffier than commercial flour, meaning a cup by volume might weigh less. If using freshly milled, it's especially critical to weigh it for accuracy or be extra gentle with the spoon-and-level method. Always stick to the specific type of flour recommended by your recipe for optimal results.
2.
Consider Environmental Factors: Humidity can affect the density of flour, making it heavier. While you can't control the weather, you can consistently use the spoon-and-level or weighing method to minimize these variables.
3.
Store Flour Properly: Keep flour in an airtight container in a cool, dry place. This prevents it from absorbing moisture from the air, which can alter its density and lead to clumping.
4.
Always Fluff: Even if you're weighing, a quick stir of your flour before measuring helps ensure consistency. For volumetric measurements, it's non-negotiable.
5.
Embrace Consistency: Once you understand the proper methods, choose one and stick to it for a particular recipe. If a recipe provides both cup and weight measurements, always opt for the weight for maximum accuracy.
For a deeper dive into avoiding these measurement pitfalls, check out our guide on
Stop Ruining Your Bakes: Avoid Common Flour Measuring Mistakes.
By implementing these simple yet crucial techniques, you'll be well on your way to consistently achieving light, fluffy, and perfectly textured baked goods. Measuring flour correctly every time is not just a chore; it's a foundational skill that unlocks a world of baking success and satisfaction.
In conclusion, accurate flour measurement is not merely a suggestion; it's a fundamental requirement for achieving perfect baking results. Whether you invest in a digital kitchen scale for the ultimate precision or meticulously adopt the spoon-and-level technique for volumetric measurements, understanding and applying these methods will dramatically improve your baking game. Say goodbye to dry cakes and flat cookies, and hello to consistently delicious, perfectly textured treats from your kitchen. Happy baking!