Weigh or Spoon & Level? Master Accurate Flour Measurement for Perfect Bakes
Few things are as disheartening in the kitchen as a baking project gone awry. You’ve invested time, effort, and precious ingredients, only for your cookies to be crumbly, your cake dense, or your bread tough. While many factors contribute to baking success, one often overlooked culprit is perhaps the most fundamental: inaccurate flour measurement. As someone who has spent years perfecting recipes in the kitchen, I can tell you firsthand that mastering
how to measure flour correctly every time is the single most impactful step you can take to elevate your baking results.
This guide will walk you through the two most reliable methods for measuring flour – weighing with a digital scale and the classic spoon-and-level technique – explaining not just *how* to do it, but *why* it makes all the difference. Get ready to transform your baked goods from hit-or-miss to consistently flawless.
Why Accurate Flour Measurement is Non-Negotiable for Baking Success
Baking is often referred to as a science, and for good reason. Unlike cooking, where a pinch more of this or a dash less of that might be perfectly acceptable, baking relies on precise ratios. Flour is typically the structural backbone of your recipe, and its quantity directly impacts the texture, consistency, and overall outcome of your creation.
Consider the consequences:
- Too Much Flour: This is the most common error and the biggest saboteur of baked goods. An excess of flour leads to dry, dense cakes, cookies that don't spread and have a cake-like texture, or tough, crumbly bread. It can also make doughs incredibly stiff and difficult to work with.
- Too Little Flour: While less common, insufficient flour can result in baked goods that are too moist, gooey, or fail to hold their shape. Cookies might spread excessively thin, cakes could collapse, and muffins might lack structure.
The primary cause of inaccurate flour measurement stems from a seemingly innocent habit: scooping flour directly from the bag with your measuring cup. Studies by baking authorities have revealed that this common practice can pack up to 50% more flour into your cup than intended! Imagine a recipe calling for 2 cups, and you're inadvertently adding 3 cups – that's a significant deviation that will undoubtedly ruin your bake. This fundamental misunderstanding of how to measure flour correctly every time is why so many home bakers experience frustrating inconsistencies.
The Gold Standard: Weighing Flour on a Digital Scale
For unparalleled accuracy and consistency, weighing your flour on a digital kitchen scale is unequivocally the superior method. This is why professional bakers and pastry chefs rely on scales, and why most modern, meticulously tested recipes provide ingredient weights in grams or ounces.
Why Weighing is Best:
- Precision: A gram is always a gram, regardless of how tightly packed the flour is or how humid the kitchen is. Volume measurements, however, can fluctuate significantly.
- Consistency: You'll achieve the same results every time you make a recipe, removing the guesswork and variability inherent in volume measuring.
- Efficiency: It's often quicker and less messy to weigh ingredients directly into your mixing bowl, eliminating the need for multiple measuring cups.
- Eliminates Compaction: There's no concern about compacting flour, which is the root cause of over-measurement with volume methods.
How to Measure Flour by Weight:
- Place Your Bowl: Set your mixing bowl or the container you'll be using on your digital kitchen scale.
- Tare the Scale: Press the "tare" or "zero" button. This will reset the scale to zero, effectively subtracting the weight of your bowl.
- Add Flour: Gently spoon flour into the bowl until the scale displays the exact weight specified in your recipe (e.g., 120 grams for one cup of all-purpose flour, a standard often recommended by experts like King Arthur Baking). You can also pour directly from the bag if you're careful, but spooning offers more control.
- Double-Check: Ensure the measurement is precise before proceeding.
If you don't own a digital kitchen scale, I highly recommend investing in one. It's a game-changer for any serious baker and an essential tool for truly mastering
how to measure flour correctly every time.
The Reliable Alternative: The Spoon & Level Method
While weighing is the gold standard, it's understandable that not everyone has a digital scale, or perhaps you're working with an older recipe that only provides volume measurements. In such cases, the "spoon & level" method is your best friend. It’s a vast improvement over direct scooping and will significantly improve your baking accuracy.
Why it Works: This method prevents over-compaction, ensuring you're getting a much closer approximation of the intended flour volume.
How to Measure Flour with the Spoon & Level Method:
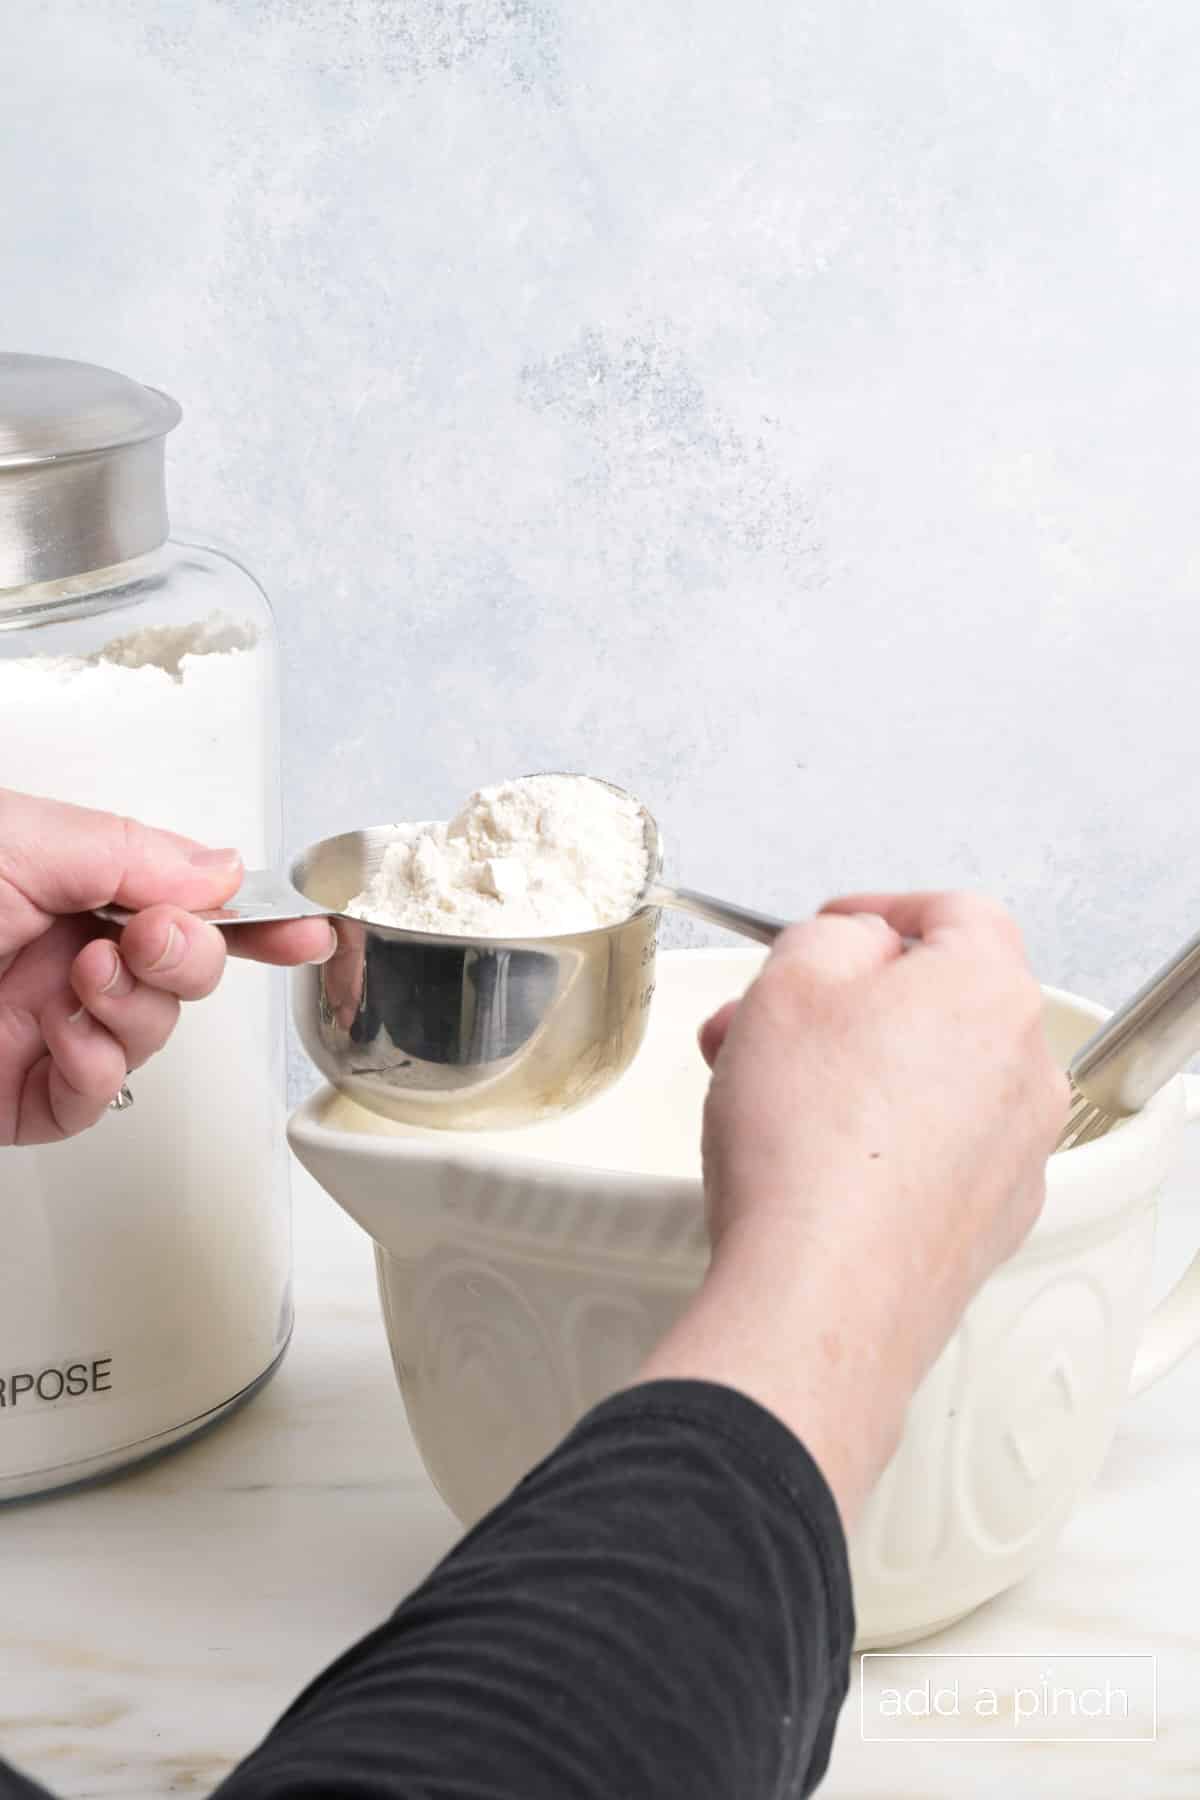
- Fluff the Flour: Before you even touch your measuring cup, take a spoon and gently fluff up the flour in its container or bag. Flour settles over time, becoming compacted. Fluffing aerates it, making it lighter and closer to its true volume.
- Spoon into the Cup: Using a separate spoon (not the measuring cup itself), lightly spoon the fluffed flour into your dry measuring cup. Pile it slightly above the rim of the cup. Do *not* scoop directly with the measuring cup, as this will compact the flour, leading to over-measurement.
- Level It Off: Once the flour is mounded in the cup, use the straight edge of a knife, an offset spatula, or even the back of a ruler to gently sweep excess flour off the top, creating a perfectly level surface.
- Avoid Compacting: Do *not* tap the measuring cup, shake it, or press the flour down in any way. Any form of compaction will defeat the purpose of the spoon-and-level method and lead to adding too much flour.
By consistently employing the spoon & level technique, you'll avoid many of the common pitfalls that lead to baking disappointments. It's an easy habit to adopt and makes a world of difference.
Beyond the Basics: Advanced Tips for Flour Measurement Success
Mastering the basic techniques is crucial, but a few additional insights can further refine your flour measurement skills:
*
Understand Flour Types: Different flours have different densities and protein levels, which affect how they bake. All-purpose flour is the most common, but bread flour (higher protein) and cake flour (lower protein) are significantly different. Always use the specific flour type called for in your recipe. While the 120g per cup standard is common for all-purpose flour, other types might have slightly different weights per cup.
*
Consider Environmental Factors: Humidity can slightly affect the density of flour. In very humid environments, flour can absorb moisture and become heavier. While weighing mitigates this effect significantly, it’s a good reminder of why volume can be less reliable.
*
Freshly Milled Flour: If you're using freshly milled flour, it tends to be much airier than commercially processed flour. This means a cup of freshly milled flour will weigh less than a cup of store-bought flour. When working with it, weighing is even *more* critical to ensure accurate results.
*
Recipe Author's Intent: When following a recipe, try to determine if the author specified weight or volume. If only volume is given, assume the spoon-and-level method was intended, unless the author explicitly states otherwise. If you're struggling with a particular recipe, it might be worth checking the author's notes or website for clarification on their preferred measuring method.
*
Don't Be Afraid to Adjust (Slightly): While accuracy is key, sometimes doughs or batters can still feel "off" due to external factors like oven temperature or ingredient brands. Learn to recognize the correct consistency of a batter or dough. If it feels excessively stiff or soupy, you might need a tiny adjustment, but always start with precise measurement.
Remember, practice makes perfect. The more you pay attention to
how to measure flour correctly every time, the more intuitive it will become, and the more consistently delicious your baked goods will be. If you want to dive deeper into common mistakes and how to avoid them, check out our related guide:
Stop Ruining Your Bakes: Avoid Common Flour Measuring Mistakes.
In conclusion, accurate flour measurement isn't just a recommendation; it's a foundational pillar of successful baking. Whether you choose the unparalleled precision of a digital scale or the reliable technique of spooning and leveling, making a conscious effort to measure your flour correctly will dramatically improve your results. Say goodbye to dry cookies and dense cakes, and hello to perfectly textured, consistently delicious homemade treats. Happy baking!