Stop Ruining Your Bakes: Master Flour Measurement for Perfect Results
There's a universally disheartening experience for any home baker: meticulously following a recipe, investing time and precious ingredients, only for your much-anticipated cookies to turn out dry and crumbly, your cake dense and heavy, or your bread tough instead of tender. Often, the culprit isn't a faulty oven or a forgotten ingredient; it's a fundamental error right at the start – mismeasuring your flour. Understanding how to measure flour correctly every time is the secret handshake that unlocks consistent, bakery-quality results in your own kitchen.
Baking, at its heart, is a precise science. Flour forms the structural backbone of nearly every baked good, and even slight inaccuracies in its measurement can throw off the delicate balance of a recipe. From my own years in the kitchen, I've seen firsthand how easily a good intention can go awry. Many of us were taught to simply scoop flour directly from the bag with our measuring cup. While seemingly convenient, this common habit can inadvertently pack in up to 50% more flour than a recipe intends! That's a significant difference that can transform a fluffy cupcake into a dense hockey puck. Let's dive into the tried-and-true techniques that will elevate your baking and ensure every creation is spot-on.
The Hidden Impact of Incorrect Flour Measurement
Imagine a symphony where one instrument is playing at twice the volume it should be. That's what happens when you add too much flour to your recipe. The consequences are far-reaching and often lead to frustrating disappointments:
- Dry and Crumbly Texture: Too much flour absorbs excess moisture, leaving your cookies, muffins, and quick breads parched and falling apart.
- Dense and Heavy Bakes: Cakes and brownies lose their tender crumb and airy lightness, becoming heavy and tough.
- Lack of Spread: Cookies meant to spread into thin, chewy disks might remain stubbornly puffy and cake-like.
- Tough Doughs: For breads and pastry, excess flour can lead to overdeveloped gluten, resulting in a rubbery texture that's difficult to chew.
On the flip side, too little flour can be equally disastrous. Your baked goods might spread excessively, lack structure, or fail to rise properly, resulting in flat, weak, and often greasy results. This delicate balance underscores why mastering how to measure flour correctly every time isn't just a suggestion—it's a fundamental skill for any baker. It means the difference between a baking triumph and a kitchen tragedy, saving you time, effort, and ingredients in the long run.
The Gold Standard: Weighing Flour with a Digital Scale
For unparalleled accuracy and consistent results, the undisputed champion of flour measurement is the digital kitchen scale. This isn't just a tool for professional pastry chefs; it's an affordable and essential gadget for any serious home baker. Here's why:
- Eliminates Variability: Flour's volume can change dramatically based on how it's packed, its humidity level, and even the type of flour. Weight, however, is constant. A gram of flour is always a gram of flour.
- Prevents Compaction: When you scoop flour, you inevitably compact it. Weighing bypasses this issue entirely.
- Adheres to Professional Standards: Many reliable recipes, especially from reputable sources like King Arthur Baking, provide gram measurements (e.g., 120g for a cup of all-purpose flour). This standardization ensures you're working with the exact amount the recipe developer intended.
How to Weigh Flour Accurately:
- Choose Your Container: Place your mixing bowl or a separate container directly onto your digital kitchen scale.
- Tare the Scale: Press the "tare" or "zero" button. This resets the scale to zero, effectively subtracting the weight of your container.
- Spoon and Add: Using a spoon, gently scoop flour from its bag or container and add it to your bowl until you reach the desired weight. It's often easier to get close to the target, then add small increments until the scale shows the precise measurement.
Using a scale ensures that whether your flour is light and airy or slightly compacted, you're getting the exact amount needed for a perfect bake. For a deeper dive into why weighing truly is the superior method and to understand the nuances of this technique, check out our guide on Weigh or Spoon & Level? Master Accurate Flour Measurement.
The Tried-and-True: Spoon & Level Technique (When a Scale Isn't Available)
While weighing is the preferred method, many recipes still call for volume measurements (cups). If you don't have a digital scale, or if your recipe doesn't provide weights, the "spoon and level" technique is the most accurate way to measure flour by volume. This method explicitly avoids the common pitfall of directly scooping with the measuring cup, which can add up to 50% more flour.
How to Execute the Spoon & Level Method:
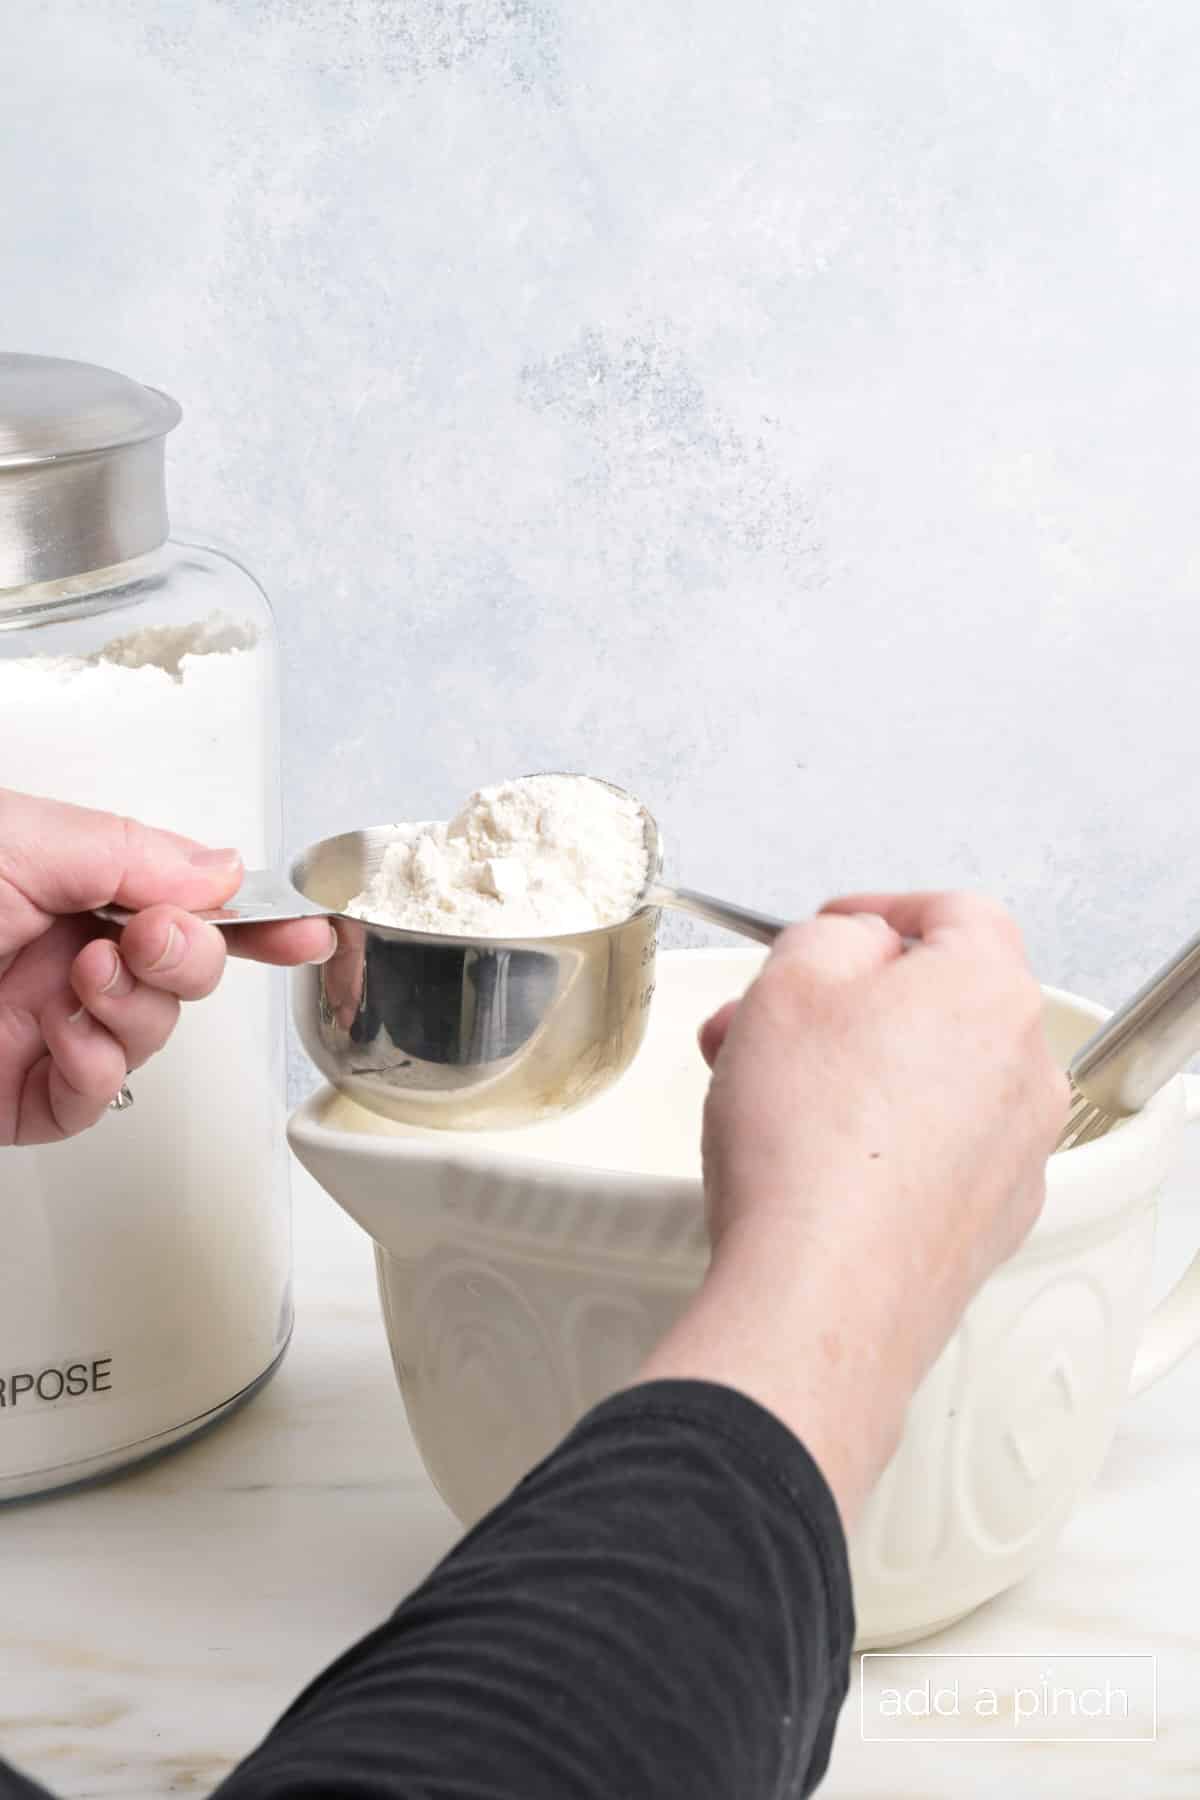
- Fluff Your Flour: Before you even start, take a fork or whisk and gently aerate the flour in its bag or container. This breaks up any compaction that might have occurred during storage.
- Spoon into the Cup: Using a separate spoon (not the measuring cup itself), gently spoon the fluffed flour into your dry measuring cup. Overfill the cup slightly.
- Level It Off: Once the cup is overfilled, use the straight edge of a knife, a metal spatula, or even a ruler to carefully level off the excess flour. Simply scrape across the top of the cup, allowing the excess to fall back into your flour container.
- Resist Compaction: Do not tap the measuring cup, shake it, or press down on the flour at any point. The goal is for the flour to be as light and aerated as possible within the cup.
This method ensures that you're measuring a consistent volume of flour, minimizing the risk of a dense, flour-heavy outcome. It's a simple adjustment that yields dramatic improvements in your baking results. To master the spoon-and-level technique and other vital tips for consistent baking, our comprehensive article, How to Measure Flour Correctly for Perfect Baking Results, offers even more insights.
Beyond the Basics: Advanced Tips for Flour Measurement Success
Mastering the primary measurement techniques is a huge leap, but a few additional considerations can further refine your baking prowess:
- Understand Your Flour Types: Not all flours are created equal. All-purpose flour is versatile, but bread flour has a higher protein content (more gluten-forming capacity), while cake flour has a lower protein content (for a more tender crumb). Always use the specific type of flour called for in your recipe, as substituting can drastically alter the final texture and structure of your bake.
- Consider Environmental Factors: Humidity can affect flour's density and how much moisture it absorbs. In very humid environments, flour might be slightly heavier by volume, while in dry climates, it might be lighter. While a scale largely mitigates this, it's a factor to be aware of if relying solely on volume measurements.
- Freshly Milled Flour Considerations: If you're using freshly milled flour, note that it often behaves differently from commercially processed flour. It can be lighter and might absorb liquids differently. Some bakers find they need to use slightly less freshly milled flour by weight compared to conventional flour, or adjust the liquid in the recipe. Always pay attention to your dough's consistency rather than strictly adhering to a number if using fresh-milled.
- Embrace Recipe Adaptation: When possible, look for recipes that provide flour measurements in grams. If a beloved recipe only lists cups, consider finding a reliable conversion chart (many baking sites offer these, often standardizing a cup of AP flour to 120-125 grams) and begin using your scale. This is a game-changer for consistency.
Conclusion
In the world of baking, precision truly is paramount. Mastering how to measure flour correctly every time is not just about following directions; it's about understanding the science behind your ingredients and taking control of your culinary outcomes. Whether you adopt the superior accuracy of a digital kitchen scale or perfect the mindful technique of spooning and leveling, these methods will dramatically improve the consistency and quality of your baked goods. Say goodbye to dry cookies, dense cakes, and tough breads, and prepare to enjoy the light, fluffy, and perfectly textured creations you've always dreamed of making. Your baking journey is about to level up, one accurately measured cup or gram of flour at a time.
